4pm on Saturday at our local market is bargain time. It’s when all of the stall holders are selling their fresh produce on the cheap, getting rid of things that will perish before they open again on Monday, or just making room for new deliveries.
Being a bit of a sucker for a bargain, I’m forever coming home with gigantic bags of, well, anything really. Half the time I have no idea what I’m going to make with it. It’s just so hard to resist 4kg of plums for £1 or more carrots than I can carry for 50p that I don’t think about what I’ll make. I can plan all that as a gleefully schlep home, laden with cut price goodies.
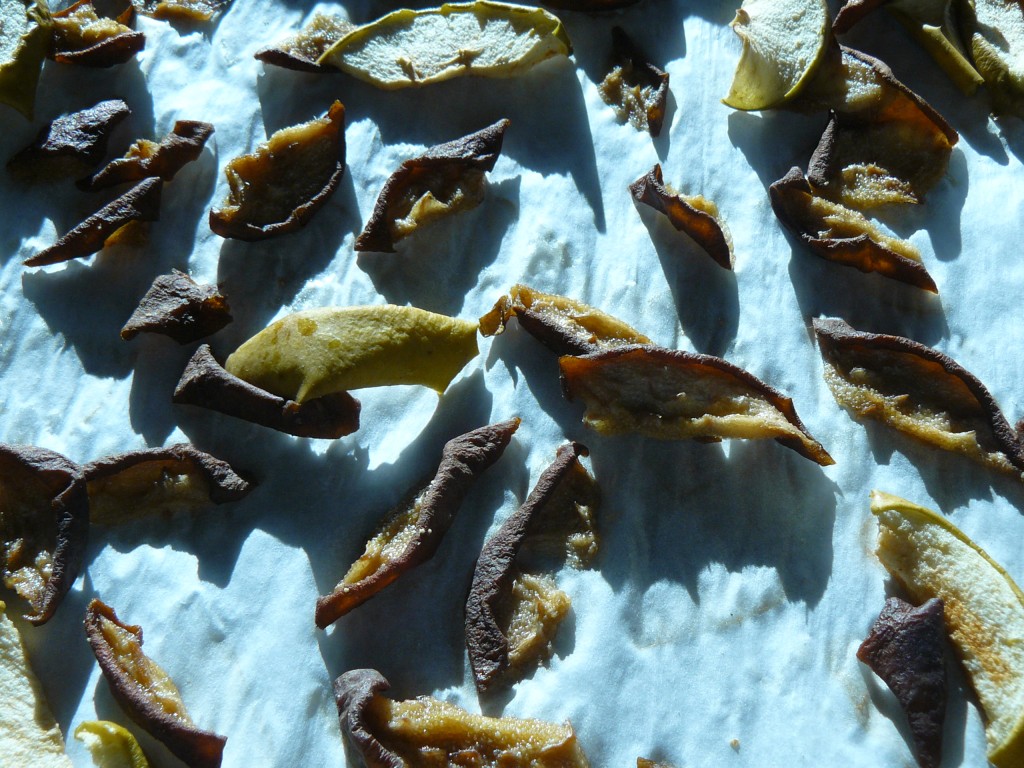
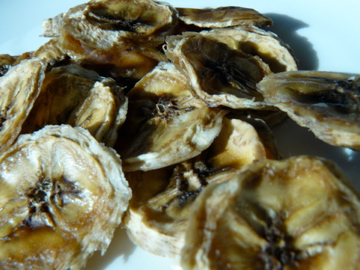
A recent haul of fruit set me thinking. I’m not big on desserts really and didn’t see what I could do with 5lbs of pears, a big bag of apples and a carrier full of bananas. Then I remembered that before we ran the West Highland Way in the summer, my running buddy dried a big batch of bananas to help fuel us on our way. Unfortunately (for me, not for her), she had one of those fantastic food dryer/dehydrator machines, which sits on the worktop quietly doing the job for you.
In the absence of such a gizmo, I had to resort to the old fashioned method – oven drying. It was spectacularly easy to do, though it does take a long time – 5-7 hours on a very low heat. It’s a low maintenance project, in that you don’t need to give the fruit much attention once its in the oven, but it could be costly if you do it often. If I had more space in the kitchen, I’d definitely invest in a dehydrator (you can dry more or less any fruit and veg in them). For now, though, I’ll settle for packing the oven as full as possible to make the process as efficient as I can.
It’s definitely worth the effort. The fruit stays slightly chewy and the flavour is really intense – it tastes more like you’ve distilled the essence of it rather than simply dried it. It’s great with cereal and/or yoghurt, plus it makes a great fruity snack.
It’s also MUCH better for you than most dried fruits on the market, which often have sulphur dioxide in to preserve the fruit’s colour. Apart from causing the most hideous farting ever (pardon my crudeness), people with asthma and other respiratory conditions can have adverse reactions to it. Check labels on any dried fruit you buy, and also on muesli and granola packets – they often use fruit that’s been dried using sulphur dioxide. Avoid it like the plague.
To dry fruit at home:
– More or less any fruit will do.
– Wash thoroughly and slice it finely.
– Dip fruit that discolours easily (apples, pears etc) in lemon juice before drying.
– Put the oven on the lowest possible heat (ours is 70C, which worked fine).
– Cover baking trays with baking parchment and spread the sliced fruit evenly on it, making sure the pieces don’t touch.
– Prop the oven door open slightly to let out the steam (you don’t want soggy fruit).
– Cook – or rather ‘dry’ – for 5-7 hours (the time depends on the oven and the fruit, hence the rather loose time frame).
Let us know if you do this yourself. We’re thinking there could be some great recipes with home dried fruit but we need to know if we’re the only people mad enough to bother 😉


Thanks for this, it’s a brilliant idea. My mother as an Aga and it looks as if the bottom oven will do the job nicely, at no additional fuel cost too. Perfect!
Ah, in an Aga – how brilliant! Let us know how you get on if you get chance.
This was great!